
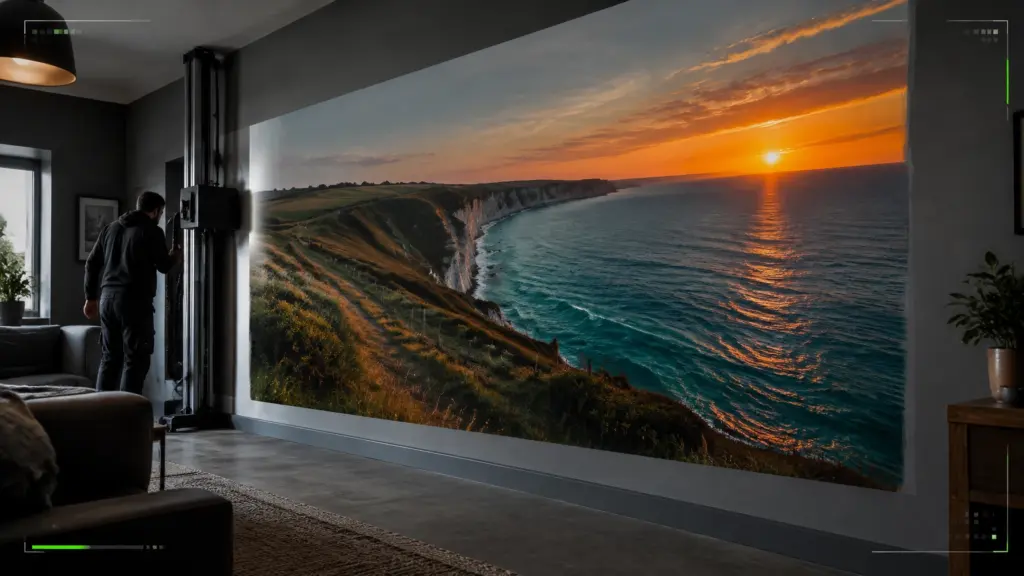
A photograph can hold a favourite place, a family memory or a moment you never want to lose. Printed at scale, it can do more than sit in a frame: it can transform an entire wall.
With direct-to-wall photo printing, your chosen image is printed straight onto a suitable interior surface. No wallpaper panels or framed print are needed. The result is made to fit your room, your wall and the photograph that matters to you.
Imagine your favourite coastal view stretching behind the sofa, a travel photograph bringing depth to a hallway, or a family image creating a personal feature in a bedroom. With careful image selection, scaling and wall preparation, a blank surface becomes part of your story.
Make your photograph part of the room
A feature wall changes how a space feels. A wide landscape can draw the eye across a living room. A vertical image can add interest to a narrow hallway. A close-up botanical photograph can bring colour and detail to a quiet corner.
The best image is not always the most dramatic. It is the one that suits the room and looks right at the size you have in mind. Think about what you want the space to feel like: calm, bright, atmospheric or full of energy. Then consider which of your photographs supports that mood.
Direct printing gives your image room to breathe. Rather than placing a picture within the wall, the artwork becomes part of the surface itself.

Choose a photo that works at wall scale
A photograph that looks sharp on a phone may not contain enough detail to fill a large wall. Start with the original image from your camera or phone, rather than a screenshot or a compressed copy downloaded from social media. The larger and clearer the original file, the more options there are for scaling and cropping.
Before choosing, check:
- Focus: Is the main subject clear, without noticeable blur?
- Lighting: Are important details visible in both bright and dark areas?
- Composition: Will the key subject still be well placed when the image is cropped to fit the wall?
- Resolution: Does the file contain enough detail for the final print size?
Resolution should be considered at the intended wall dimensions, not just by the number shown in a file’s settings. As a simple example, a photo spread across a wide wall has fewer pixels per inch than the same file displayed as a small print. The Society of Photographers’ guide to printing photography as wallpaper offers further advice on preparing images for large-format display.
You do not need to solve the technical side alone. Share the original file and wall measurements, and the image can be checked and scaled for the space. If a photograph needs substantial cropping or enlargement, it is better to find that out during planning than after the wall is ready.
Plan the image around the wall
The wall is part of the composition. Doors, sockets, alcoves, fireplaces and furniture can all affect where the important parts of a photograph should sit.
Start by measuring the full width and height. Note any features that interrupt the surface, then consider where the main subject will appear in relation to them. A face, horizon or landmark placed behind a television or cut by a doorway may lose its impact.
Look at the wall from the positions where you spend time in the room. A photo wall behind a sofa will be viewed differently from one at the end of a hallway. Consider sightlines from the doorway, seating and nearby windows. Natural and artificial light can also change how colours appear throughout the day.

Get the surface ready for the image
A strong photograph deserves a suitable surface. Direct-to-wall printing can be applied to various wall types, but the condition and texture of the wall influence the finish. A stable, clean surface helps the print sit clearly; deeper texture can affect how fine details appear.
Before printing, the wall should be assessed for dust, grease, loose paint, cracks and other irregularities. Any necessary repairs or preparation can then be discussed. This is especially important when you are printing a detailed photograph: even a high-quality file cannot hide an uneven surface.
It is also worth considering the room’s use. A photo wall in a bedroom may have different practical demands from one in a busy hallway or games room. Share how the space is used so the surface and artwork can be considered together.
From photograph to finished wall
A well-planned project moves through a few clear stages:
- Share your idea. Provide the photo you have in mind, the room and the wall you would like to transform.
- Measure and assess. Confirm the wall dimensions and identify obstacles, surface details and viewing angles.
- Prepare the artwork. Check the file, scale it to the wall and plan the crop and placement.
- Prepare the surface. Address any wall preparation needed before printing begins.
- Print in place. The mobile printing setup is brought to your property, and the image is printed directly onto the wall.
Reviewing the composition before print day helps avoid surprises. A crop that looks balanced on a screen may feel different across a wide wall, so it is important to consider the full dimensions and where the image’s focal points will land.

A clean, considered finish
Unlike wallpaper murals made from separate drops, direct-to-wall printing applies the image to the wall itself, without wallpaper seams or paste. The print is UV-cured as it is applied, so it is ready without a long drying period.
Pixel Perfection uses odourless, non-toxic inks suitable for indoor environments. The finished print is durable and washable, while the company’s insured mobile setup brings the equipment directly to your property. These practical details help make a personal feature wall feel considered from planning through to completion.
For more on how wall printing can work throughout the home, explore direct-to-wall printing for residential spaces.
Where a photo wall can make an impact
Living room: Give a favourite landscape or travel photograph a natural place in the room, with the wall behind the sofa or opposite the entrance as a focal point.
Bedroom: Create a personal backdrop using a calming landscape, a favourite place or an image chosen to suit the room’s colour palette.
Hallway: Make a narrow or overlooked space more distinctive with a photograph that draws the eye along the wall.
Games room: Bring energy into the space with a bold image, memorable scene or photograph connected to your interests.
The design should work with the room rather than compete with it. Consider the furniture, wall colour and existing décor, then choose an image that feels at home there.
Frequently asked questions
Do I need a professional camera photo?
No. A phone photograph may work well, especially if it is the original, full-size file. Image quality depends on the file and the finished wall dimensions, so it is worth having the image assessed before committing to a crop or layout.
Can any photograph be printed?
Many photographs can be adapted for a wall, but not every file is suitable at every size. Blur, compression, limited resolution and the shape of the wall can all affect the result. An image check can help establish what is achievable.
Will the image be cropped?
It may need to be adjusted to suit the wall’s proportions. This is planned during artwork preparation, with attention to the position of the main subject and any important details. The aim is to keep the composition balanced at full scale.
Which wall surface is best?
The wall’s condition and texture matter. A clean, stable surface supports a clearer finish, while deeper texture may affect fine photographic detail. The wall can be assessed before the artwork is finalised.
Put your photograph on the wall
You do not need a finished design brief to get started. Choose a photograph you love, identify the wall you have in mind and share a few measurements. From there, the image can be reviewed, scaled and planned for the space.
Pixel Perfection creates bespoke direct-to-wall prints for homes across West Sussex and Sussex. To discuss your photo wall idea, get in touch.